1. Overview
In DC Media, layers are by default rectangular and are displayed in an order ranging from the bottom-most layer to the topmost layer and this allows for content overlapping. Using masking it is possible to create non-rectangular or framed layers using mask images, thereby revealing content displayed in underlying layers.
2. Masking for Framed Windows
Using masking it is possible to create an overlay framing effect for zones with rounded corners or beveled edges. In this example, we have created a frame image that fits the display size of the player 1024 x 768:
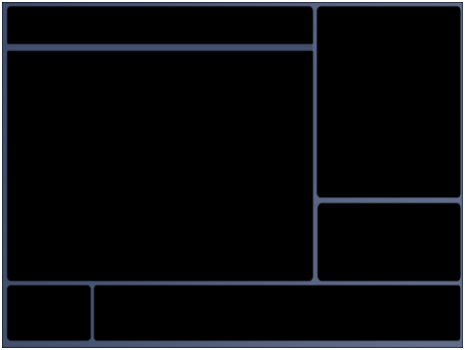
As you can see above, each zone has a rounded corner effect. In order for the content in these zones to appear to follow the corners the frame must be placed above all other layers.
In this scenario, the frame image we will display over the other zones and the mask image are both the same image file – this is because we aren’t using black in our beveled frame and we can afford to allow the player to convert all black pixels to transparent areas.
Step 1
Create a topmost zone/layer with the dimensions to match the frame image.

Step 2
Double click on the layer and set the layer shape to custom mask. Select the frame bitmap file as the mask file.
Step 3
Register the bitmap file as an asset. Assign a long duration to this asset because a shorter duration may cause occasional flickering on the display.
Step 4
Add the new asset to the topmost layer loop list
Preview the playlist, the screen will remain blank for quite some time whilst the player calculates the transparent areas. This will only occur once, the transparent areas are stored in a file with the same name as the bitmap mask file post fixed with .dat. For example:
Layerframe.bmp will create a cached mask data file called layerframe.bmp.dat